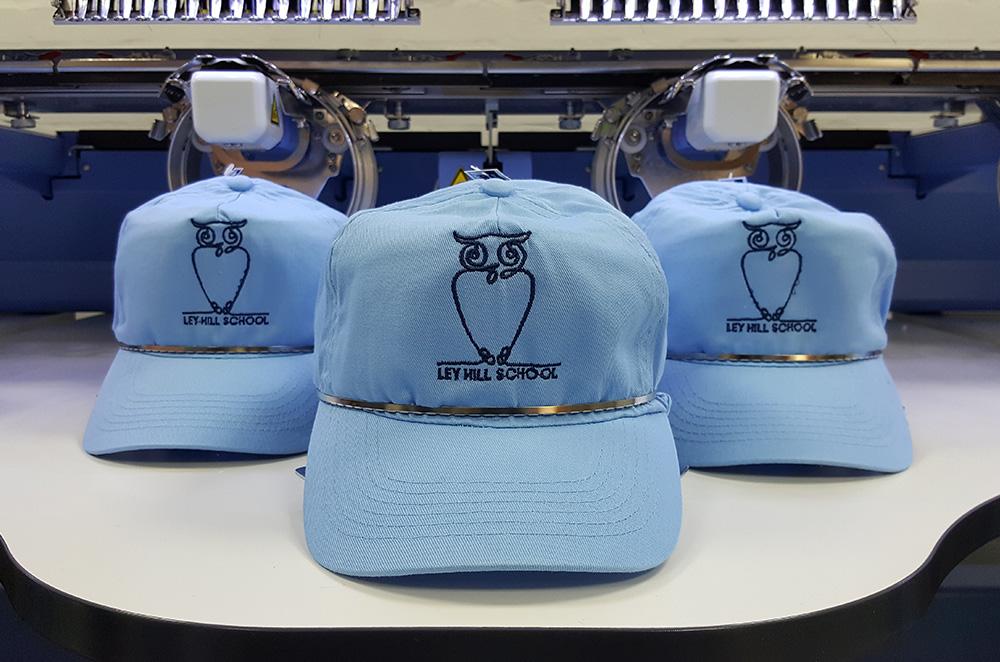
We can embroider a wide variety of things using our in-house facilities, from hoodies to dressing gowns there’s a lot of choices available. One of the more interesting items, however, are caps. Requiring a slightly different set-up, caps offer another product that can be used for merchandise, schoolwear or as part of a uniform. Take a look at how a cap is embroidered from start to finish in this blog post.

Hooping:
First, we start with a ‘blank’ cap, basically, a cap without any embroidery or logos. Whilst there are many different styles, colours and materials, the most popular is the baseball cap. The cap then needs to be ‘hooped’ – a term in which a frame is attached so that the garment (or in this particular case, cap) remains as secure as possible when it’s being embroidered. Here is one of our embroiderers hooping up a cap:
Embroidery:
Once that’s done, the cap with the hoop is now attached to the machine and from there is embroidered. Logos, names and emblems can all be embroidered on a cap with different degrees of complexity. For this example, we have a relatively simple school emblem, but it can be multi-coloured and fairly detailed!

Once the embroidery is done, all that’s left is to remove the hoop from the cap and voila! We have an embroidered cap, ready to be shipped off.
Interested?
If you want to find out more about embroidered caps, or just have questions about the process or other ways you can use embroidery, don’t hesitate to get in touch either by phone or by email:
sales@tee-tree.co.uk
+44 01494 853 150.


Recent Comments